Overview

| By | Mike Nelson |
|---|---|
| Supports | * front matter * 1 layer of nesting (each article can be put in a part) * back matter |
Purpose
Similar to Print My Blog Quick Print’s other “Classic” designs, except optimized for reading by Microsoft Word. Useful when you need to deliver your content as a Microsoft Word Document (like to an editor), or for using as an intermediate format for delivery to other applications (like for importing into Adobe InDesign).
A table of contents is generated and inserted at the requested location. Once in Microsoft Word, right click on the table of contents and click “Update Field”; or press Ctrl + A, then F9.
Images may be bundled into the Word Document file so they can be used offline or if the website hosting the images goes offline.
Image galleries are rearranged into a simple list of images which displays better on smaller devices.
If there are any features or options you want, please get in touch.
Features
- Supports nesting articles (like posts and pages) into “parts”
- External hyperlinks (links to web pages not in the project) may be left as working hyperlinks or removed
- Internal hyperlinks (links to content included in the project) may be converted into links to the appropriate page of the document, left as hyperlinks to the website, or removed.
- The default title page can include: Project Title, Subtitle, Site URL, Date Printed, Credit to Print My Blog
- Each article can include: Title, ID, Author, URL, Date Published, Categories and Tags, Featured Image, Excerpt, Custom Fields, Content
- All images are automatically included in the Word Document file (instead of merely pointing to the external image source). This makes the filesize larger, but allows users to view images while disconnected from the Internet.
- Small images are automatically centered
- Image galleries are converted into regular list of images, which look better on small screens.
Page Layout
Each article begins on a new page.


Generic Settings
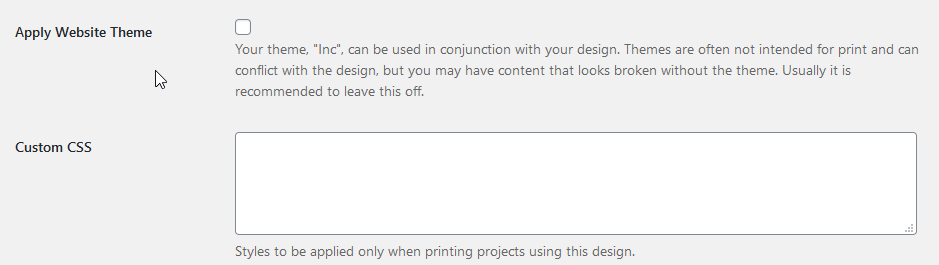
“Custom CSS” is CSS code to be used only in files PMB Pro generates; it won’t be used anywhere else on your website. Because PMB Pro uses Prince CSS, use any CSS from the official Prince documentation.