Your website probably has most of the content you want to put in a document, but there’s probably still a need for a few extra pages: like maybe an introduction, copyright page, and other front and back matter.
Usually, the best way to add these is by creating some Print Material “posts” directly from your project’s Edit Content step.
For example, let’s say you’ve started a project, and chosen some existing posts to put in it, and now you want an introduction and a copyright page.
Adding an Introduction
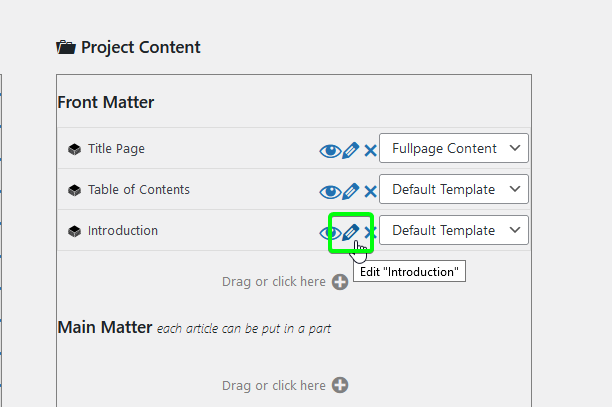
To add the introduction, click “Click or Drag Here” and enter “Introduction.”

Next, click on the pencil inside the new “Introduction” row to edit it. Save it. You can click on this pencil from this project’s editing page in the future too.


You can follow the same steps to add a foreword, prologue, or anything else where you’d like the Print Material’s name to appear at the top of the page.
Adding a Copyright Page
Adding the copyright page is similar to adding an introduction, except you probably don’t want the text “Copyright” to appear at the top of the page, and you probably want the text centered in the middle of the page.
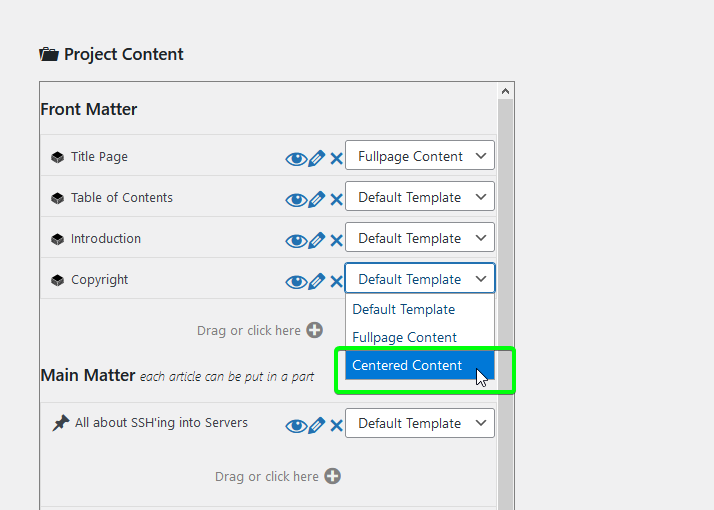
For that, add a new Print Material using “Click or Drag Here” inside the Front Matter area again, and name it “Copyright” or anything you want, because we’re going to instruct PMB to not show the title in the document anyway.
Edit the Copyright Print Material by clicking the pencil in its row again, and add your content as usual.

Before saving the project, in the new Copyright page’s row, click “Default Template” and change it to “Centered Content”.
After you’ve added the Print Material, you may decide you want it to appear somewhere else in your project. Feel free to drag it to where it would fit better.

This “Centered Content” section template can of course be used for other content that you want to appear in the middle of a page by itself.
Other Front and Back Matter
If you would prefer the content to begin at the top of a page (but still not show the article’s title) you can alternatively use the section template “Fullpage Content” (which the Title Page defaults to using, although its content is usually generated from the project’s metadata.)
If you have a question about how to add another type of front or back matter to a project, please reach out using the help page and we’ll guide you through it and try to make it as easy as possible.